Google+
Showing posts with label HTML. Show all posts

Saturday, November 23, 2013

15 Step-By-Step How to add Paging functionality to an AngularJS Grid

         By Carmel Schvartzman


In this tutorial we'll learn how to add Paging functionality to an AngularJS Grid in our AngularJS Blogs Application. You can follow this step by step tutorial as a standalone, or you can learn all the posts to build the entire app. This is the STEP 15 in this walkthrough to design an end-to-end AngularJS client MVC app.

In the MODEL-VIEW-CONTROLLER architecture of AngularJS, a VIEW is related to a MODEL in the configuration step of the AngularJS app live, when we link it to some CONTROLLER.
This linking action is set in a Module, with the function of declaratively set how the AngularJS app should be bootstrapped. It's like the Main method in a program, setting the instantiation of the application.
Because AngularJS is based on the Dependency Injection paradigm, here is the place to configure the app injecting the functionality that we'll need.

We'll add paging functionality to an AngularJS table, resulting in the following :


In order to add the paging functionality, find in your REST API the method which serves GET http requests. In the Rest API walkthrough we called that method "Blogs" in the "NatureController" controller:


Once you have found it, append to its parameters two new named "size" (the actual size of the page to render) and offset (the current record to send to the client):


Then , code that in case offset is bigger than 0, skip the records until you reach that #offset row:


If "size" has been set, TAKE from the collection the corresponding records.
Save the .cs file, rebuild the project, and press CTL-F5 to start running without debbugging. Now open some browser and type the app URL in it, to check the rendered data. The URL must be in the shape "localhost:YourPort/YourController/YourActionMethod":


After checking that it works and there are no bugs in the REST API back end, open the HTML file which holds the AngularJS View: "BlogList.htm":


After the grid, create a <button> tag to perform the paging. It will call the SeeMorePosts() javascript function when clicked, and it will be visible only when the CheckForMorePosts() functions resolve to true:


Next, let's prepare the AngularJS $resource to support paging functionality. Take a look at the AngularJS documentation at angularjs.org:


Open the "Blog.js" file, where we set our AngularJS controller, and find the $resource's "query" function, which send the requests to the RESTful API backend:


As we can see in the AngularJS documentation, such "query" function can be invoked with a bunch of arguments and also a "success" parameter, meant to hold the callback:


Therefore, append the two arguments we'll send to the API (take care to keep its case-sensitive definition):


Next, take a look at the callback block:


It just copies the returned data into the client side collection. We must change that to enable paging:


We'll need a $scope boolean variable named "thereAreMorePosts" which checks whether the response returned as many records as the $scope "size" will states. Just by now, hard code some size like "2": that will be the size of the page. In addition to that, each time there is a successful response, we'll APPEND the returned data to the client collection, using the "concat" method:


Now we create the $scope variables we need , at the AngularJS controller:


Save everything and refresh the app, to check we have no bugs, and the exposed records are as much as the page size sets (2 by now):


Now let's code the "SeeMorePosts()" function called when clicked the button. This function will update the page offset, before calling the controller method which actually invokes the Restful API:


Also, type the "CheckForMorePosts()" function which is used to toggle the button's visibility:


Take care to code those functions INSIDE the boundaries of the AngularJS controller:


Remember: the starting boundaries of the AngularJS controller are these:


 Again, save everything and refresh the browser, clicking the paging button:


....  until the returned data is lesser than the page size, to see the button dissappear:


Now, let's add several records to see how it works. Remind yourself of the "Blog" table structure, as pictured in the Entity Framework designer:


Go to the SQL Manager and open the "Blog" table:


Add some data, several new records to display on the AngularJS View:


Remember to copy the corresponding .jpg pictures to the "Orchids" project folder :


Go back top the browser, refresh the web page:


 We got 2 records, as the page size sets. Now push the button:


Now we got another 2 records, making 4 on the whole. Again, click the button to see another 2 records added to the View:


Finally, only one record is added, and therefore the button dissapears:


That's all!! 
Happy programming.....


כתב: כרמל שוורצמן

Tuesday, October 22, 2013

13 Step-By-Step How to Design a Grid using the Twitter Bootstrap in AngularJS

         By Carmel Schvartzman

In this tutorial we'll learn how to Design a Grid using the Twitter Bootstrap in our AngularJS Blogs Application.You can follow this step by step tutorial as a standalone, or you can learn all the posts to build the entire app.  This is the STEP 13 in this walkthrough to design an end-to-end AngularJS client MVC app.
In the MODEL-VIEW-CONTROLLER architecture of AngularJS, a VIEW is related to a MODEL in the configuration step of the AngularJS app live, when we link it to some CONTROLLER.
This linking action is set in a Module, with the function of declaratively set how the AngularJS app should be bootstrapped. It's like the Main method in a program, setting the instantiation of the application.
Because AngularJS is based on the Dependency Injection paradigm, here is the place to configure the app injecting the functionality that we'll need.

We'll be adding CSS style by means of the Twitter Bootstrap (see Tutorial 5 for an step by step explanation on how to add the bootstrap to the application ) to a Grid we created in Tutorial 12 ,  that displays data returned by the REST back-end we created previously in Tutorial 10 , and the final cut will be exposed like this:


  1. The following snapshot represents the AngularJS grid as we leave it in the previous tutorial:
  2. As you can see, we have some issues to fix in that grid: the dates are not correctly displayed, and the picture is reduced to the address of the jpg in the machine. Also there is no style exposed. Let's enhance the grid. First let's check why the dates are displayed that way. Go to the REST API in the file BlogController and set the DatePosted field in the following way:

  3.  Now switch to the BlogsList.html file and set the DatePosted column according to the AngularJS notation to display a user friendly date:
  4. Save and Refresh the page, and check we get the appropriate dates:

  5. Next problem is displaying the pictures. You can see the REST api response loads the names of the pictures:

  6. We placed the pictures in a special folder called "Orchids":

  7. Therefore we'll set the file system address of the pictures relative to our web site as follows:

  8. Save the html and refresh the wev page, and now we can see the pictures have been displayed correctly:

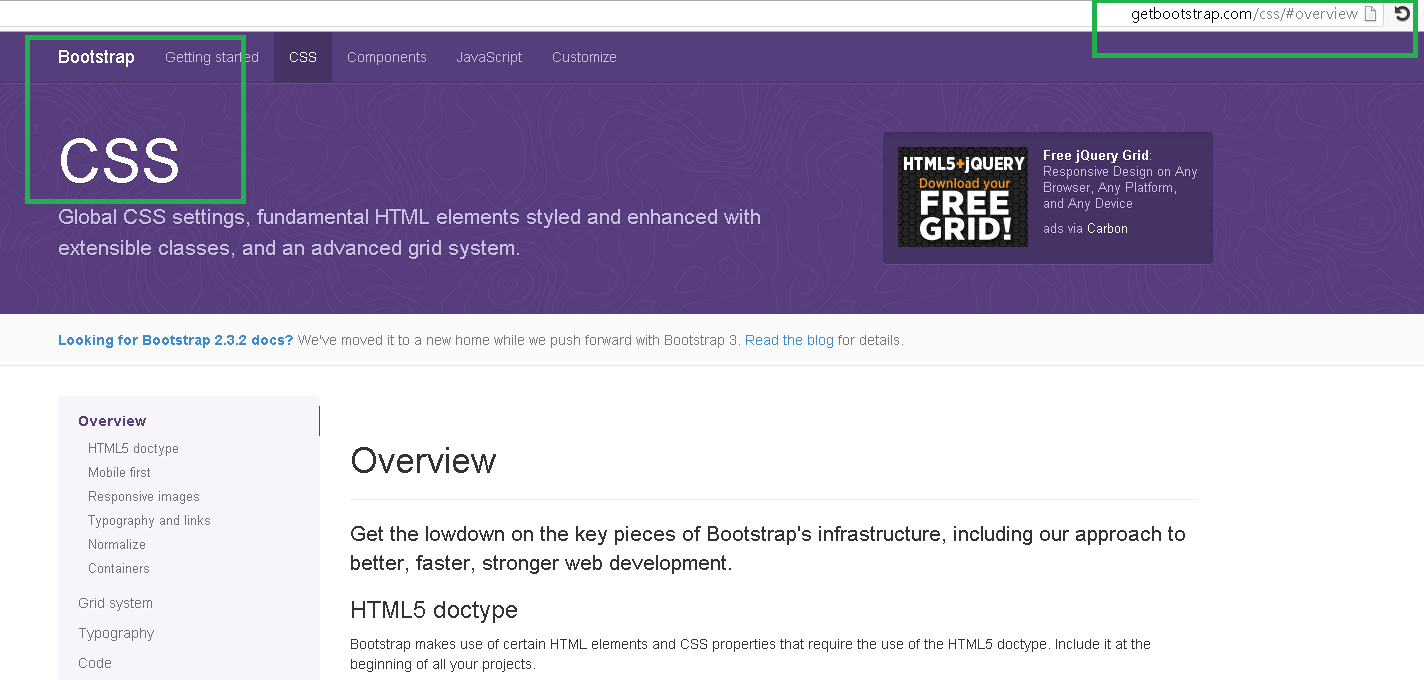
  9. The next step is to add CSS style to our grid. Instead of reinventing the wheel, we'll make use of the Twitter Bootstrap. Go to the bootstrap site  :

  10. ... and click on the "TABLES" menu link:


    There we'll find samples of table's styles ready for use.
  11. Also, in our project we can check out the bootstrap.css Twitter file to see the different tables styles:
  12. I decided to use the "table-stripped" style; you can use whatever you like:

  13. After adding the "class" attribute to our grid, refresh the web page to see the final display:

That's all!! 
Happy programming.....


כתב: כרמל שוורצמן

Monday, October 21, 2013

12 Step-By-Step How to Create a Grid using AngularJS

         By Carmel Schvartzman


In this tutorial we'll learn how to create a Grid in our AngularJS Blogs Application. You can follow this step by step tutorial as a standalone, or you can learn all the posts to build the entire app. This is the STEP 12 in this walkthrough to design an end-to-end AngularJS client MVC app.
In the MODEL-VIEW-CONTROLLER architecture of AngularJS, a VIEW is related to a MODEL in the configuration step of the AngularJS app live, when we link it to some CONTROLLER.
This linking action is set in a Module, with the function of declaratively set how the AngularJS app should be bootstrapped. It's like the Main method in a program, setting the instantiation of the application.
Because AngularJS is based on the Dependency Injection paradigm, here is the place to configure the app injecting the functionality that we'll need.
We'll be creating a Grid that displays data returned by the REST back-end we created previously in Tutorial 10 , and it will be exposed like this:


  1. We'll add the grid at the AngularJS View we created in the Tutorial 8, in a file named BlogList.htm:

  2. Because this file will become just a template embedded inside another html file, we delete all of the html code except the table that will host the AngularJS grid. Type the names of the columns according to the field names:
  3. Next, open the AngularJS Resource (created at Tutorial 11  
    ) in the file Blog.js, and copy the name of the Scope variable which holds the data returned from the server:

  4. Add to the TBODY html tag the AngularJS Directive "ng-repeat": it means that FOREACH item in the posts's collection returned by the REST api, the AngularJS engine will build another TR:
  5. Inside the ng-repeat directive, set that AngularJS should create one record for each of the "blog" items in the "blogsList" collection Scope variable which holds the data returned from the server:

  6.  Type the names of the columns according to the field names returned by our REST back-end, enclosed by the "{{  }}" data binding AngularJS notation:
  7. Finally, add some AngularJS code to display the dates in a more appropriate format:
The data exposed on our grid will appear as follows:


That's all!! 
Happy programming.....


כתב: כרמל שוורצמן